Assembling an old Jenny Lind crib requires a blend of patience, precision, and a touch of nostalgia. These timeless cribs, known for their spindle design and vintage charm, hold sentimental value for many families.
Unveiling the steps to resurrect and assemble these cherished cribs involves navigating through the intricacies of ancient craftsmanship. From identifying the classic spindles to meticulously aligning each piece, this process transcends mere assembly—it’s a journey into the past.
In this guide, we embark on the task of reviving the Jenny Lind crib, unravelling the secrets of its construction and embracing the joy of preserving a piece of family history.
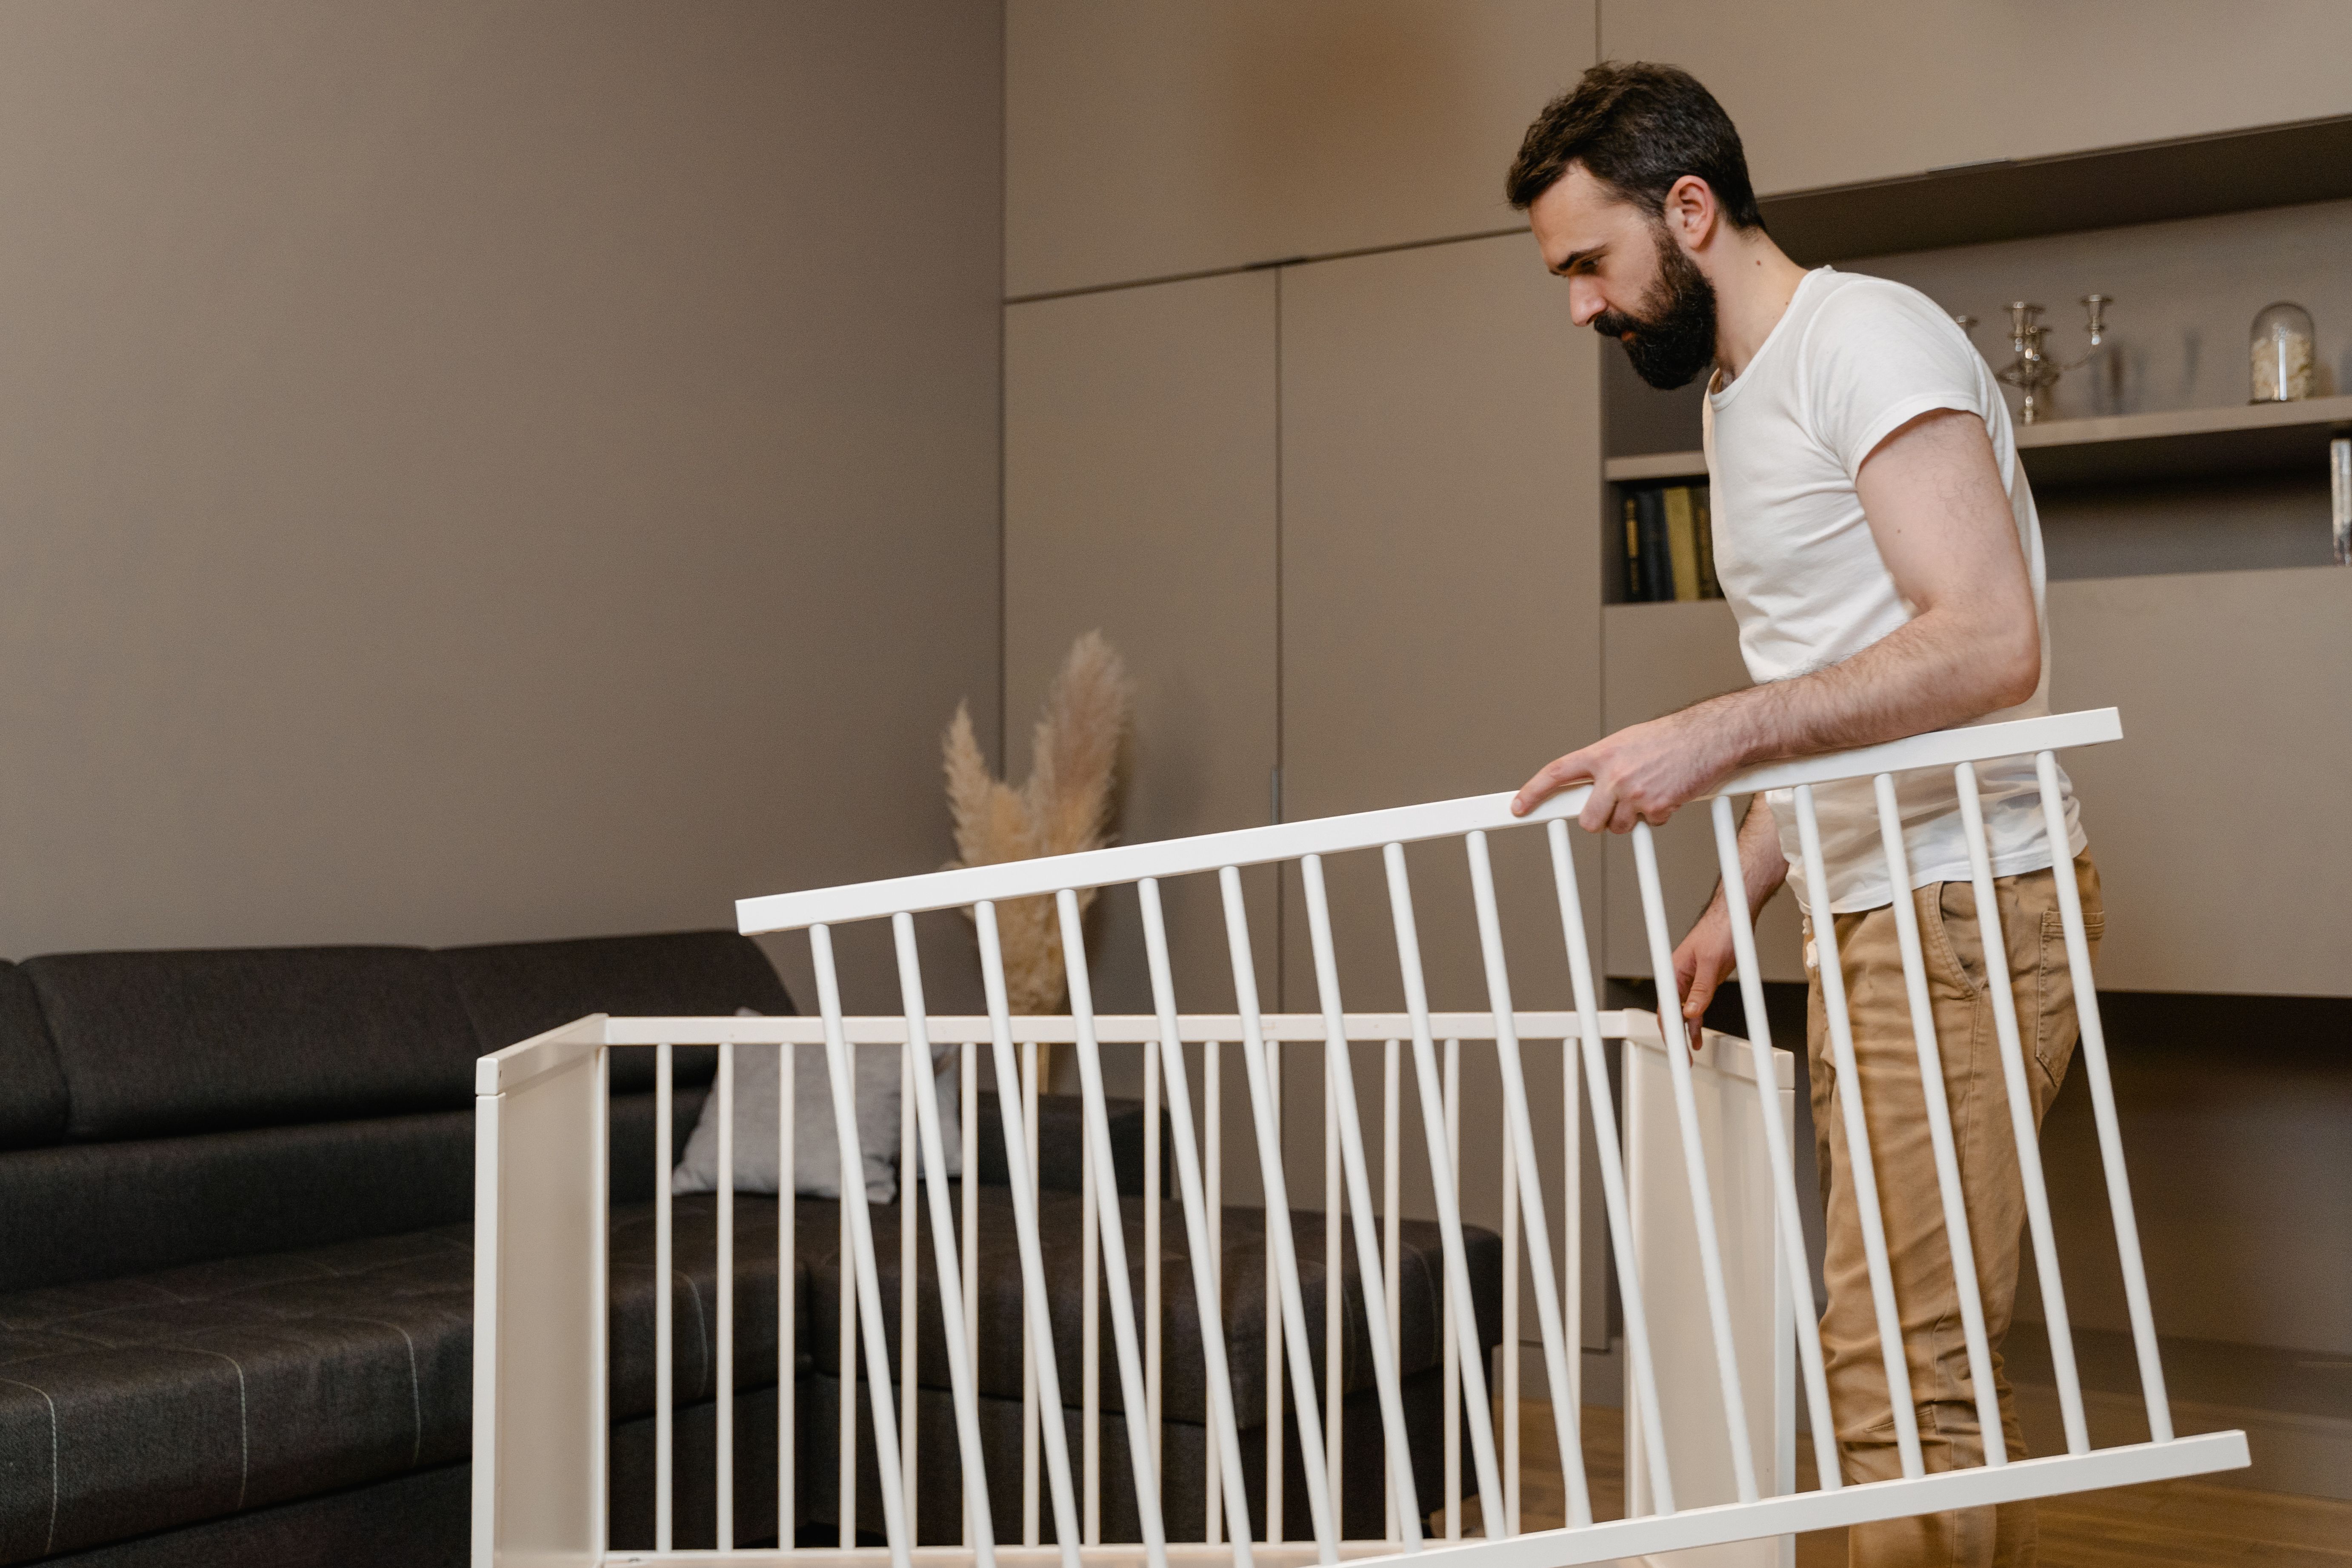
Can You Assemble a Crib on Yourself?
It is possible to assemble a crib yourself, yes! Even while assembling a cot could seem like a difficult undertaking, many cribs include easy-to-follow instructions and practical designs that make it doable for one person.
Anyone may follow the instructions and ensure that their child is in a safe and secure crib by paying close attention to the requirements. Not only does DIY crib assembly make you feel accomplished, but it also lets you customize the arrangement for your baby’s comfort.
Simply do it step by step, according to the directions, and savor the satisfaction of giving your little one a safe and comfortable home.
Gathering the Necessary Tools and Hardware
Preparing Your Toolbox
Gathering the necessary tools is the initial stride toward a successful crib assembly.
Ensure you have a comprehensive set, including flathead and Phillips screwdrivers, an adjustable wrench, and, if needed, a rubber mallet.
Having the right tools on hand is pivotal for a smooth and efficient assembly process.
Checking Your Hardware Inventory
Thoroughly inspect the provided hardware kit, encompassing screws, bolts, and nuts. Cross-reference it with the crib’s assembly manual to guarantee the presence of all essential components.
This proactive approach prevents hiccups during assembly and ensures that you have every piece required for a secure and stable crib.
Organizing Components
Lay out all crib components systematically, aligning them with their counterparts in the manual.
This organized arrangement not only expedites the assembly process but also minimizes the risk of overlooking crucial parts.
Taking the time to organize components methodically sets the stage for a hassle-free and precise crib assembly.
Setting the Foundation for Success
Investing a few moments in gathering tools and organizing components serves as the foundation for a seamless crib assembly.
This meticulous preparation allows you to approach the construction process with confidence, focusing on creating a secure and comfortable space for your little one.
Identifying and Organizing the Crib Parts
Begin the crib assembly process by carefully identifying and organizing its parts. Familiarize yourself with the components listed in the manual, distinguishing spindles, rails, and hardware. Lay them out in a well-lit and spacious area, grouping similar pieces.
This meticulous organization ensures a systematic approach to assembly, reducing confusion and streamlining the construction process.
Please take note of any unique features or markings on individual parts, as this will aid in their correct placement. By investing time in this preliminary step, you pave the way for a smoother and more efficient crib assembly experience.
Assembling the Crib Base
Begin assembling the crib by constructing the base. Follow the step-by-step instructions to connect the frame securely.
Ensure proper alignment for a stable foundation, setting the groundwork for a safe and snug sleeping space for your little one.
How to assemble the Crib Base
Lay Out the Base Components
Start by placing all the crib base components in your workspace, ensuring you have the headboard, footboard, and mattress support frame.
Attach the Mattress Support Frame
Connect the mattress support frame to the designated slots on the headboard and footboard. Use the provided screws to secure it in place, following the instructions closely.
Secure the Rails
Attach the crib rails or crib bumpers to the mattress support frame, aligning the pre-drilled holes. Tighten the screws securely to ensure stability.
Check Alignment
Verify that all components are aligned correctly and that the mattress support frame sits level within the crib structure.

Double-Check Tightness
Before proceeding, double-check the tightness of all screws and connections to guarantee a secure crib base.
Attaching the Headboard and Footboard
Start the assembly procedure by precisely matching the headboard and footboard, being mindful of any marks or directions included in the handbook. Make sure the bolts or screws fit snugly into the pre-marked attachment sites.
To ensure balance, gently and evenly tighten the bolts using the proper equipment, such as a screwdriver or wrench. Gently shake the completed headboard and footboard to make sure they are stable, and tweak as needed to guarantee a tight fit.
This important phase lays the groundwork for the subsequent stages of crib construction, bringing your crib assembly one step closer to completion.
Installing the Mattress Support
Secure the mattress support to the crib by aligning it with the designated slots on the headboard and footboard. Fasten it with provided screws, ensuring a stable foundation for the mattress.
To install the mattress support
- Align it with the designated slots on the crib’s headboard and footboard.
- Utilize the provided screws to secure the support in place, ensuring a stable foundation for the mattress.
- Confirm that all connections are tight and secure before proceeding, as well-installed mattress support is essential for the safety and comfort of your little one.
Adding the Crib Sides
Add the Crib Sides by Following the steps that are given below.
How to Add Crib Sides
Adding crib sides is a crucial step in assembling a secure space for your baby. Align them meticulously with the headboard, footboard, and mattress support. Using the provided screws or bolts, affix the sides firmly according to the assembly instructions.
Ensure a snug fit for stability. This step not only contributes to the overall safety of the crib but also creates a cozy enclosure, allowing you to complete the assembly with confidence in providing a comfortable haven for your little one.
Securing All Hardware and Testing for Safety
Securing all hardware is the final phase in assembling a safe crib. Go through each connection point, tightening screws, bolts, and fasteners to ensure stability.
Pay extra attention to the mattress support, crib sides, and the attachment of the headboard and footboard. Once all components are securely fastened, conduct a thorough safety test. Gently shake the crib to confirm its sturdiness, ensuring there are no loose parts.
Verify that the mattress support is level and the sides are firmly attached. This meticulous examination guarantees a secure and reliable crib, providing peace of mind and a safe sleeping environment for your little one.
Always adhere to the manufacturer’s guidelines for assembly and safety checks to create a nurturing space for your baby.
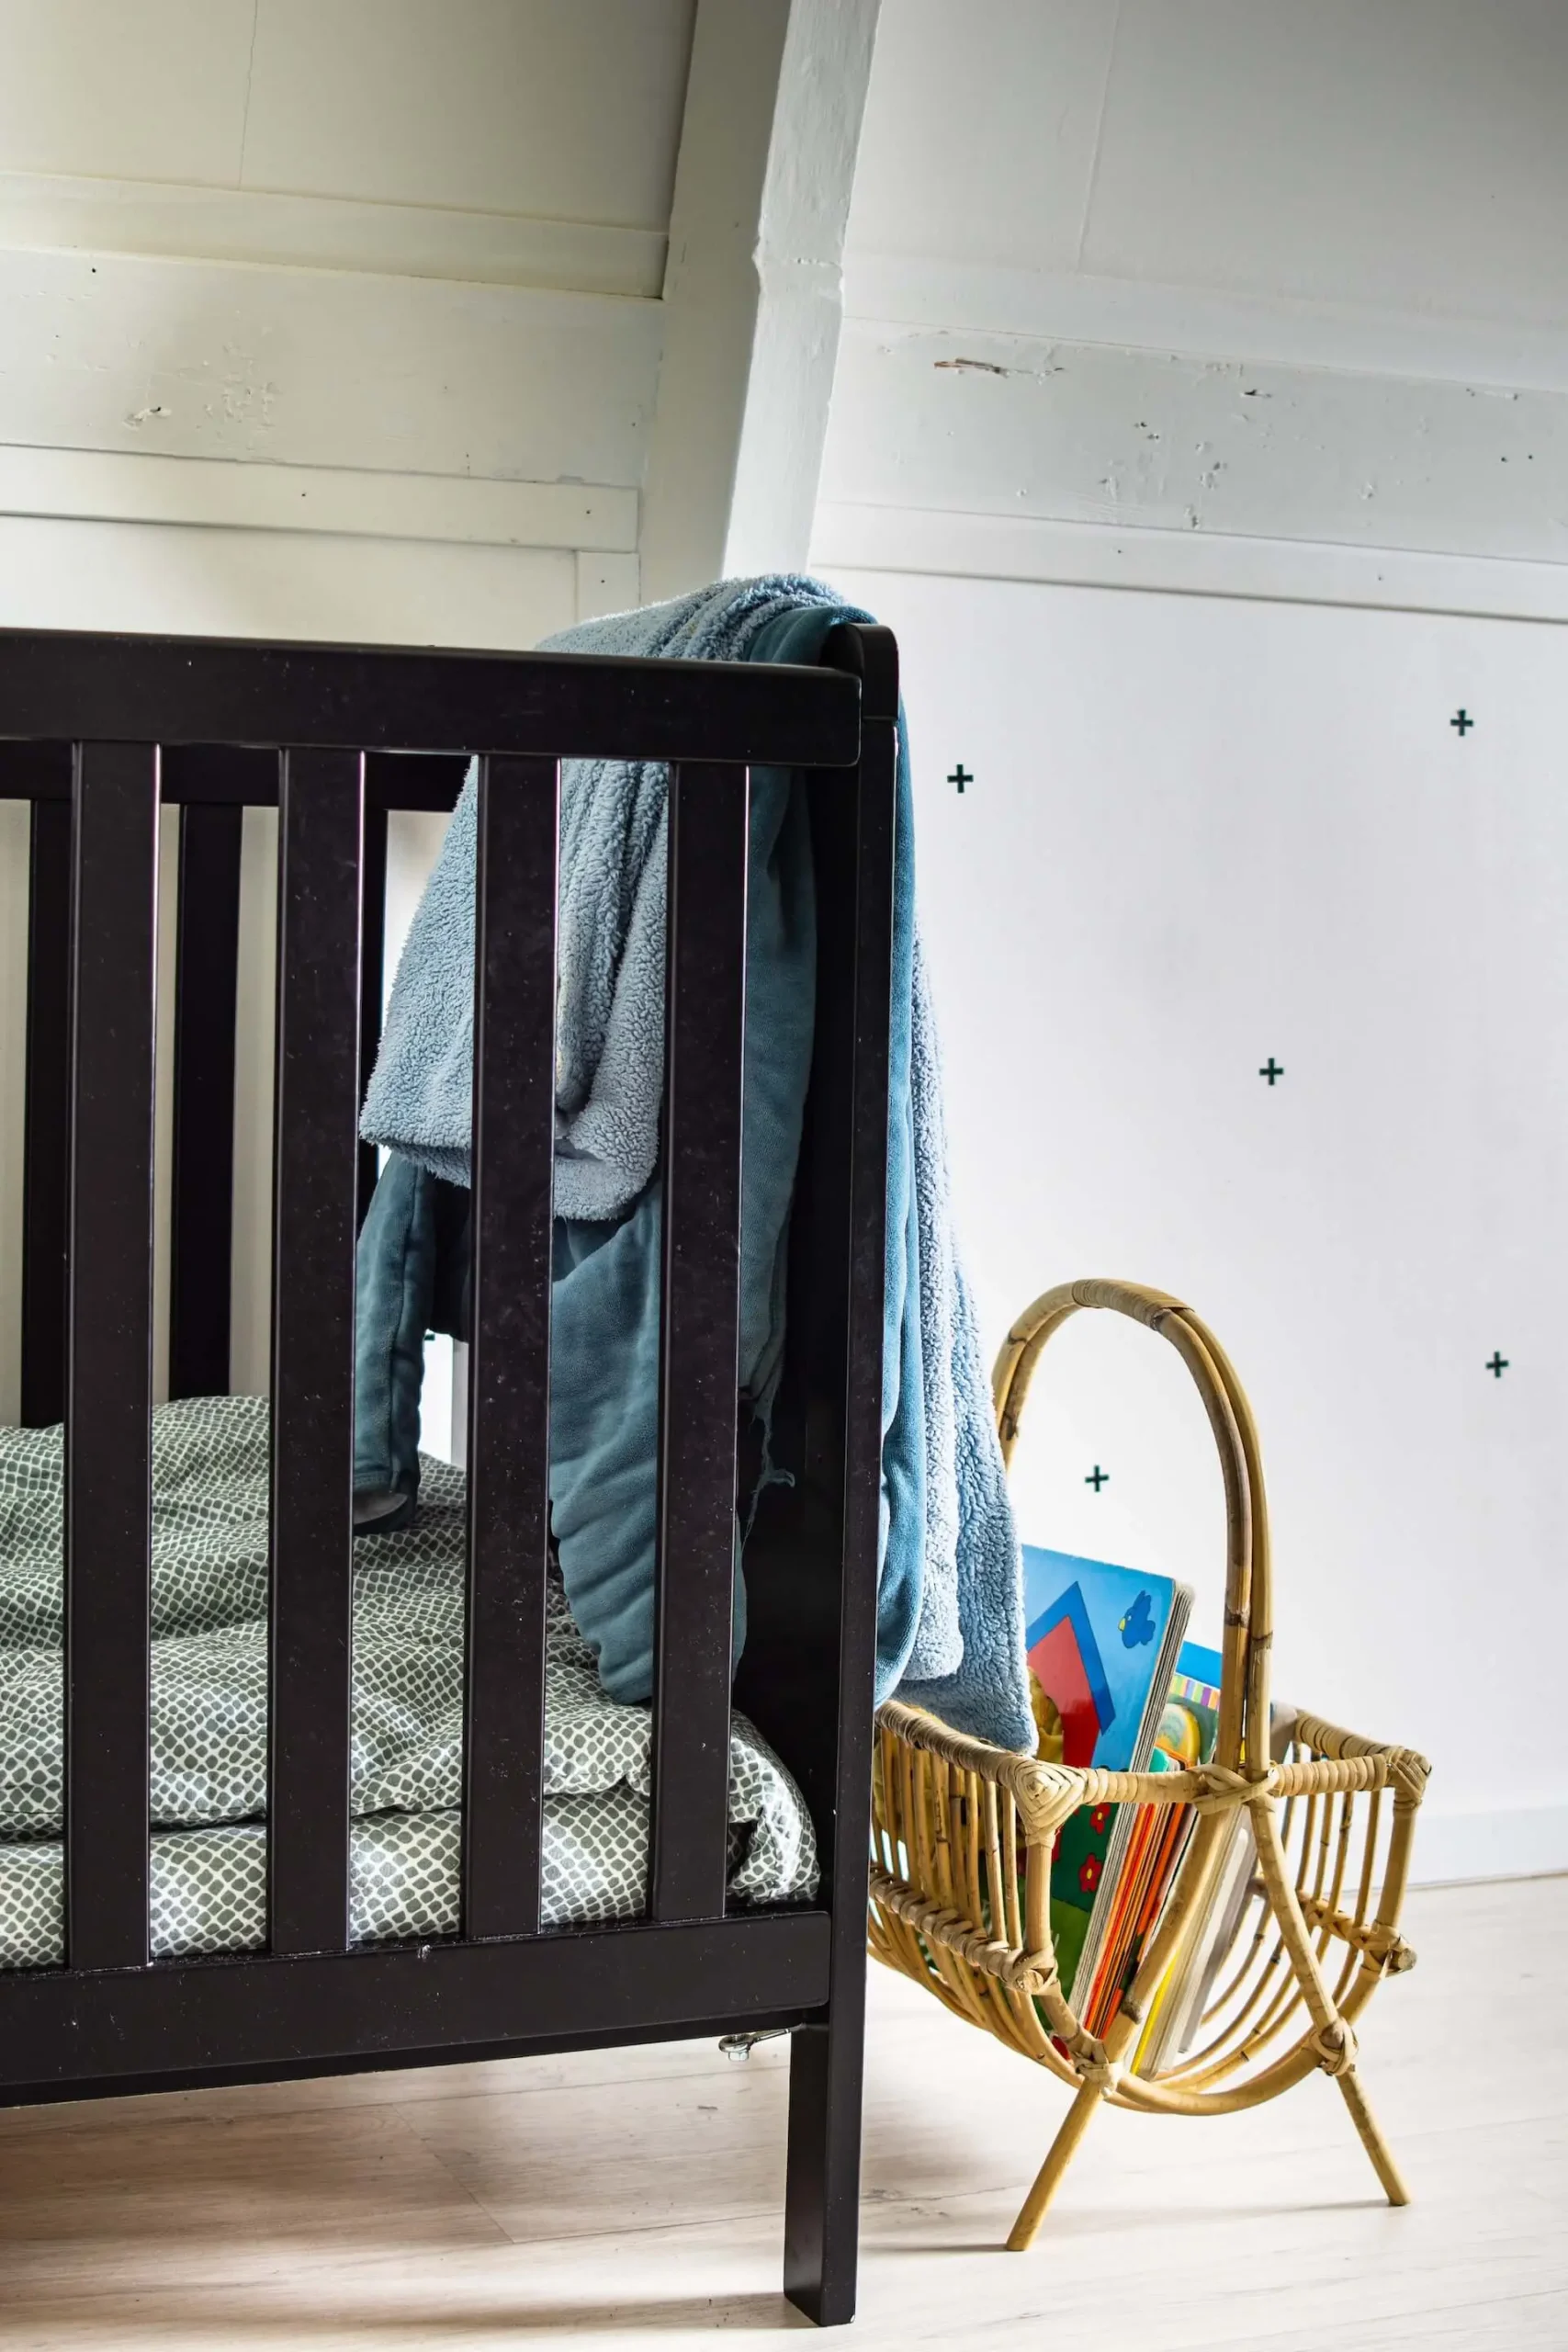
Decorating and Styling Your Vintage Jenny Lind Crib
Transforming your vintage Jenny Lind crib into a charming centrepiece involves thoughtful decorating and styling. Begin by choosing a colour scheme that complements the crib’s classic design—soft pastels or muted tones work well.
Adorn the crib with cozy bedding, accentuating the spindle details. Incorporate vintage-inspired elements, like lace or crochet textiles, for a touch of nostalgia. Consider a mobile with subtle, soothing colours to engage your baby visually.
Personalize the space with framed photos or artwork. Embrace the vintage aesthetic by adding a decorative canopy or drapes around the crib, creating a whimsical and cozy haven.
Strike a balance between functionality and aesthetics, ensuring the space is both visually appealing and conducive to your baby’s comfort. With attention to detail, your vintage Jenny Lind crib becomes not just a practical piece but a nostalgic and stylish addition to your nursery.
Final Words
Finally, furnishing and arranging your antique Jenny Lind crib is a pleasant project that combines practicality and visual appeal. You may make your child’s room a nostalgic retreat by choosing bedding, colors, and furnishings with care.
The crib’s timeless design and spindle features offer a timeless canvas for customized embellishments, transforming the nursery into a comfortable and eye-catching area.
Harmonious combination of comfort and style is ensured by weighing practical concerns alongside aspects inspired by the past. When you set out to turn a historical artifact into a treasured focal point, keep in mind that the happiness is not just in the completion but also in the special atmosphere you create for your child’s early memories.