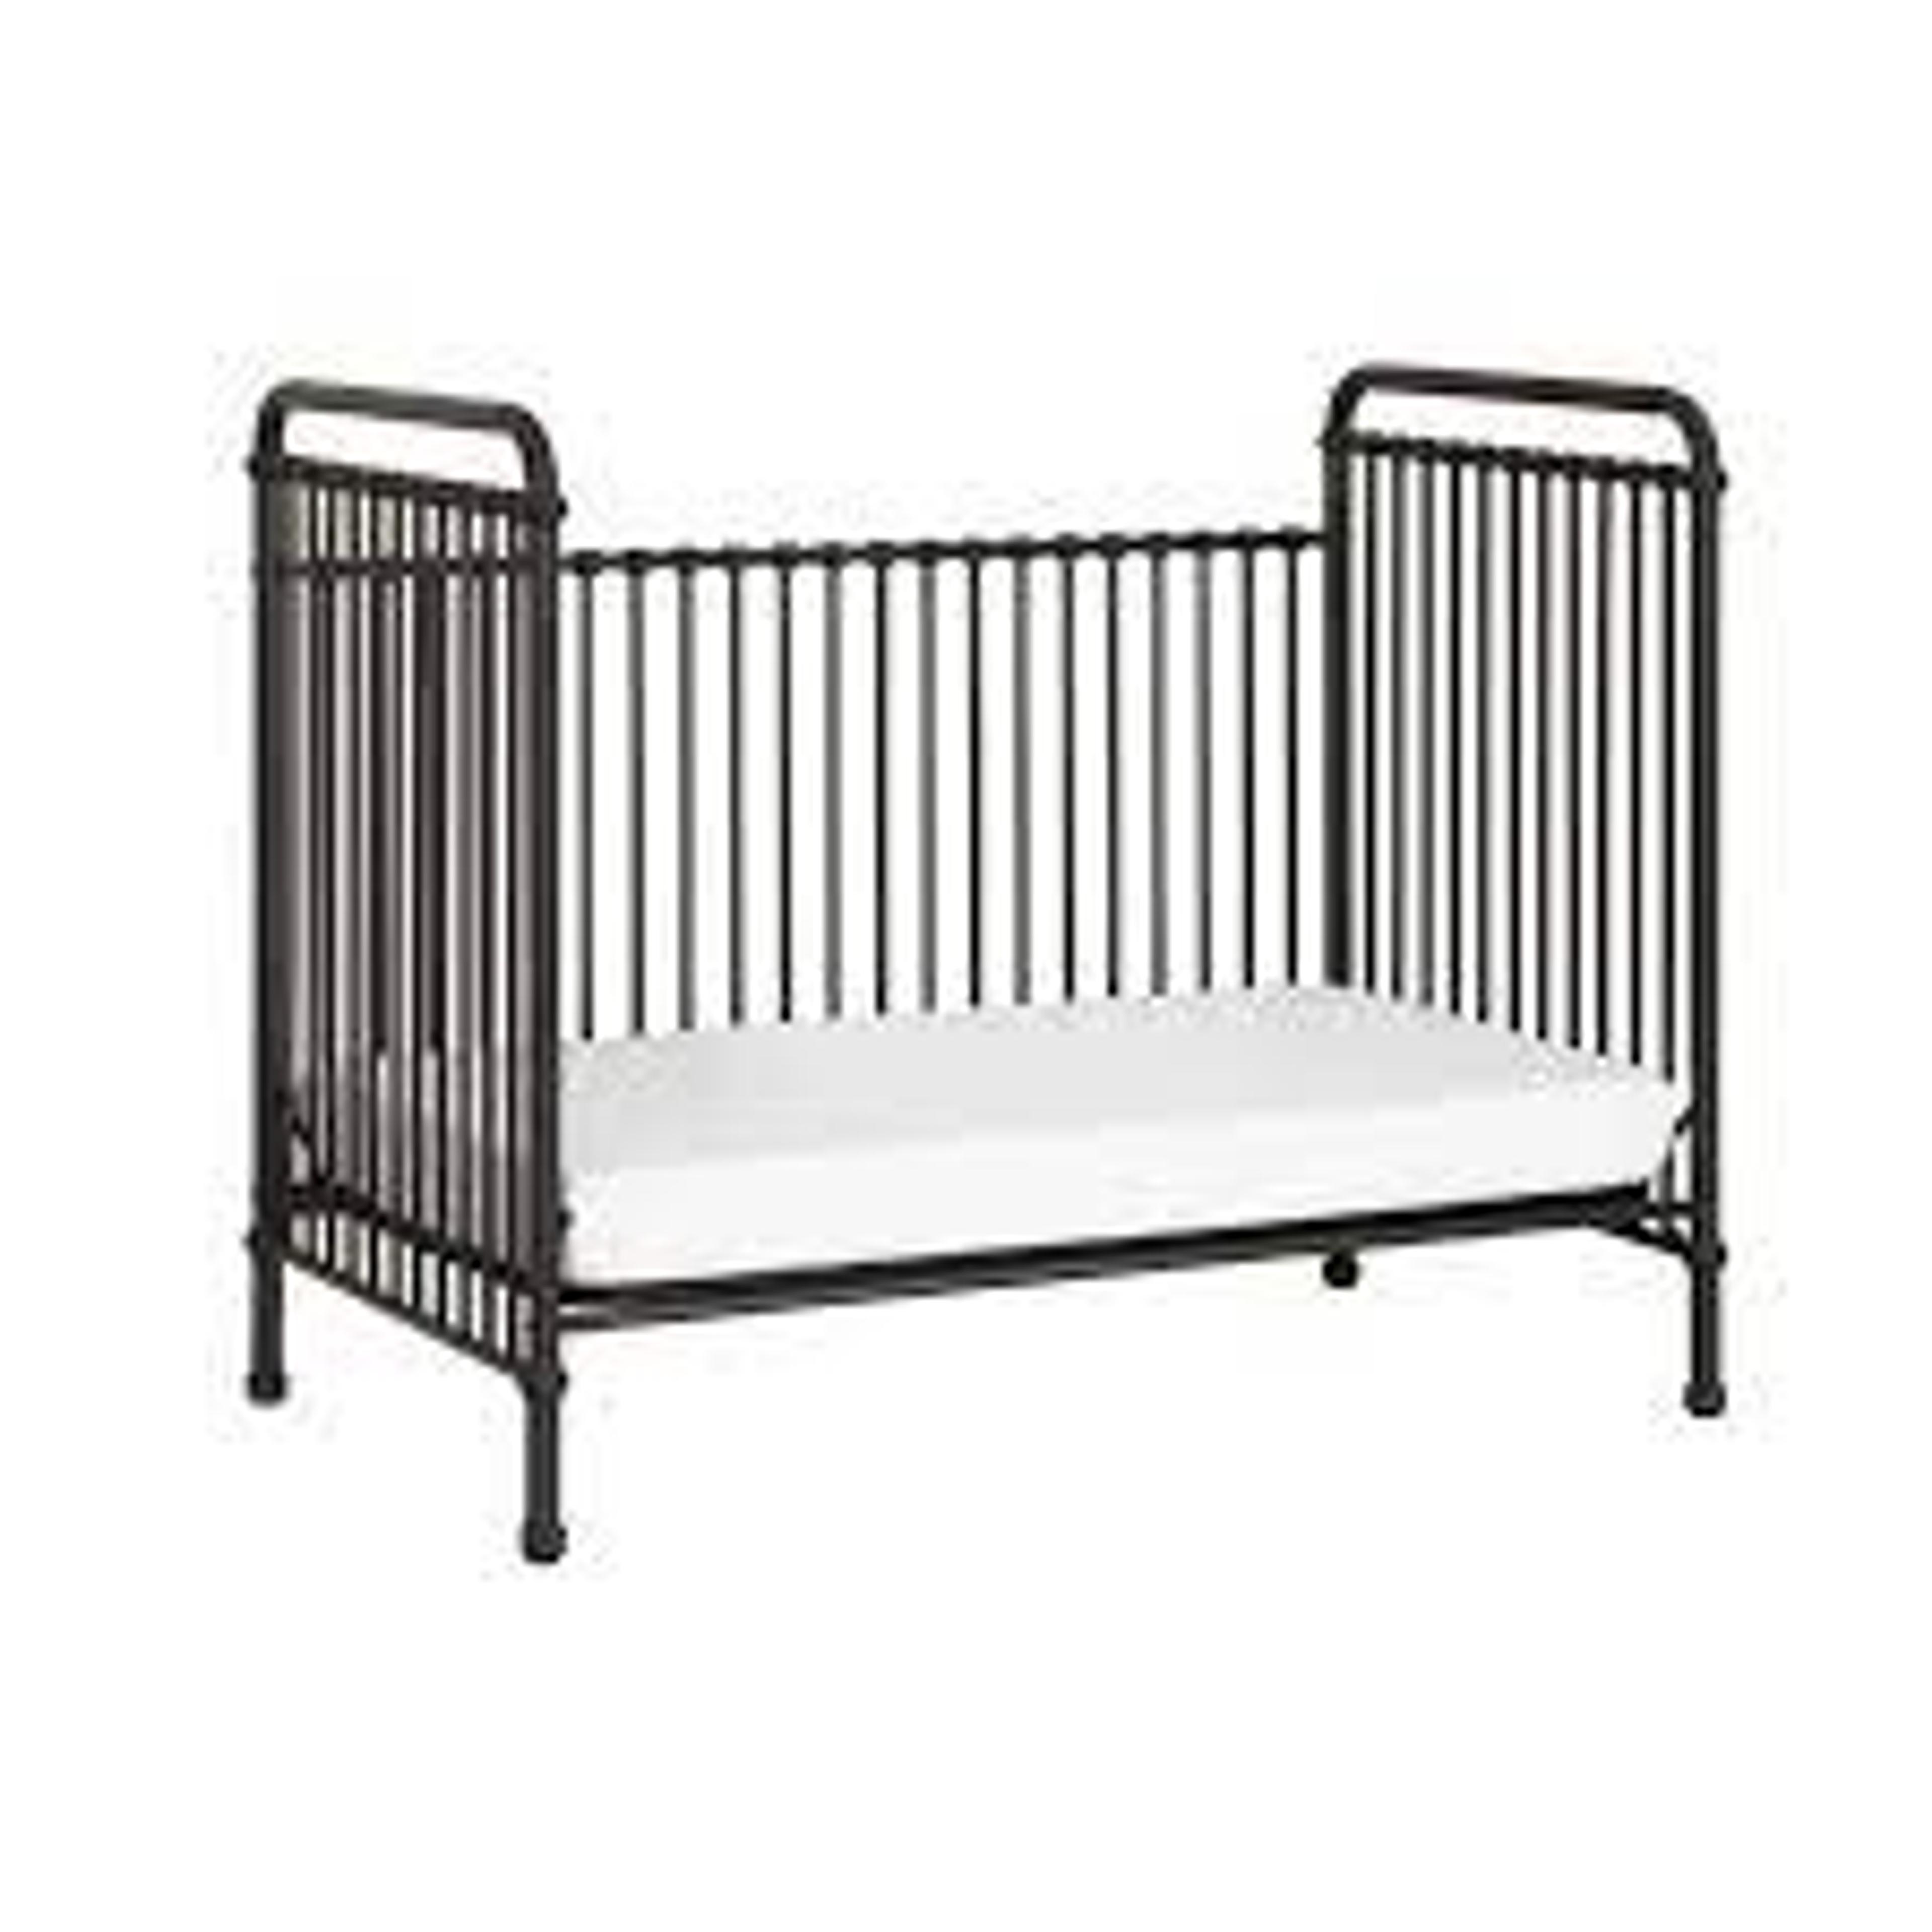
Assembling a wooden crib is an exciting task that involves creating a safe and comfortable space for your little one. Whether you're a first-time parent or need a refresher, this step-by-step guide will provide essential instructions and tips on assembling a wooden crib for your baby's nursery.
Assembling a wooden crib requires gathering the necessary tools, unpacking and laying out all the pieces, connecting the side rails securely, and performing a thorough test for stability.
Gather the Necessary Tools: Screwdrivers, Wrench, Etc.
Gathering the necessary tools is the first step in assembling a wooden crib. Having the right tools at hand ensures a smooth and efficient assembly process.
Some essential tools include screwdrivers, wrenches, and a hammer or mallet. These tools will tighten screws, bolts, and other fasteners, ensuring the crib is securely assembled.
Start by identifying the type and size of screws and bolts required for the crib assembly. For this information, look in the box or instruction manual. Once you have that, gather the corresponding screwdrivers and wrenches to match the sizes.
Unpack and Layout All the Pieces
Once you have gathered the necessary tools, the next step in assembling a wooden crib is to unpack and lay out all the pieces. It's important to follow this procedure to ensure you have all the necessary materials and become familiar with the crib's many components.
Carefully unpack the crib and its accompanying accessories, such as the mattress support, side rails, and hardware. Take a moment to inspect each item for any signs of damage or missing pieces. Contact the manufacturer for assistance or replacement parts if you notice any issues.
Once you have confirmed that all the parts are present and in good condition, lay them out organized. Arrange the pieces in a clear, spacious area, preferably on a clean, flat surface. Collecting them according to type or implementing the instructions helps speed up the assembling procedure.
How to safely polish a wooden baby crib?
Polishing a wooden baby crib enhances its appearance and helps protect and maintain the wood's quality. To ensure that the crib stays secure for your child, it's crucial to put safety first when carrying out this task. Here are some steps to safely polish a wooden baby crib:

Choose a safe polish
Opt for a non-toxic, baby-safe polish designed for wooden furniture. Avoid polishes with intense odors or harsh chemicals that could hurt your youngster.
Prepare the crib
Remove any bedding, toys, or other items and ensure it is thoroughly clean and dry. This will prevent dust, debris, or moisture from getting trapped during polishing.
Test in a small area
Before applying the polish to the entire crib, test it on a small, inconspicuous area to ensure compatibility with the wood and to check for any adverse reactions.
Apply the polish
Use a soft cloth or sponge to apply the polish in gentle, even strokes following the wood grain. Avoid excessive application, as it can lead to a sticky or oily surface that may be hazardous to your baby.
Allow for drying time
Let the polish dry completely according to the manufacturer's instructions. Ensure proper ventilation in the room to minimize any potential fumes.
Wipe off excess
Once the polish is dry, use a clean cloth to remove any excess residue. This will help create a smooth and safe surface for your baby.
Connect the Side Rails
Connecting the side rails of a wooden crib is a crucial step in assembling the crib securely. The side rails provide support and stability to the crib, ensuring your baby's safety. Here's a step-by-step guide on how to connect the side rails:
Identify the components
Lay out the side rails and locate the corresponding slots or connectors on the crib's headboard and footboard.
Align the rails
Position the side rails parallel and align them with the slots or connectors. Ensure they are properly oriented, with any designated openings or features facing inward.
Insert and secure
Place the side rail into the appropriate slots or connectors with care. Apply gentle pressure and wiggle the fence to ensure a snug fit. Follow any specific instructions provided by the crib manufacturer regarding the attachment mechanism, such as using screws or fasteners.
Double-check the connection
Once the side rail is inserted and secured, give it a firm but gentle tug to lock it properly. Confirm that there are no loose or wobbly connections.
Repeat for the remaining side rail.
Repeat the same process to connect the second side rail to the opposite side of the crib, following the same alignment and securing steps.
How to make dark stained wood lighter on a crib?
If you have a dark-stained wooden crib and would like to make it lighter, there are several methods you can try. Here's a step-by-step guide on how to make dark-stained wood lighter on a crib:

Prepare the surface
Remove any bedding or accessories from the crib. Clean the wood surface using a mild wood cleaner or a mixture of water and vinegar to remove dirt or residue. Allow the crib to dry completely.
Sand the surface
Using fine-grit sandpaper, gently sand the dark-stained areas of the crib. This will help remove some of the stains and lighten the wood. Be sure to fill evenly and in the direction of the wood grain.
Apply a wood bleach
If standing alone doesn't achieve the desired lighting effect, you can try using a wood bleach. Because different bleach products could require other application techniques, carefully follow the directions on the bleach product. Apply the bleach evenly to the dark-stained areas and allow it to sit for the recommended time.
Rinse and dry
Rinse the crib thoroughly with clean water to remove any residue after the bleach. Dry the crib completely before proceeding.
Assess the results
Once the crib is dry, examine the wood to see if the desired lighting effect has been achieved. Repeat the sanding and bleaching process until you reach the desired result.
Test and Finish Assembly
After connecting all the components of the wooden crib, it's essential to thoroughly test and ensure its stability and safety before finishing the assembly process. Gently shake the crib to check for any wobbling or loose parts. Verify that all the screws, bolts, and connectors are securely tightened.
Conclusion
In conclusion, assembling a wooden crib is a rewarding endeavor that involves careful consideration and attention to detail. Gathering the necessary tools, laying out and inspecting all pieces, connecting side rails securely, and performing a stability test are crucial steps for a safe crib assembly.
The guide also addresses additional aspects such as safely polishing a wooden crib, connecting side rails, and lightening dark-stained wood. Prioritizing safety, comfort, and proper assembly techniques ensures that your wooden crib provides a secure and comfortable space for your little one.
Always adhere to manufacturer guidelines and recommendations throughout the assembly process.
Frequently Asked Questions
Can I use a Graco Pack 'n Play as a crib?
While Graco Pack 'n Play can provide a safe sleeping environment for infants, it is not designed to be a permanent substitute for a traditional crib. It is best used for travel or temporary sleeping arrangements.
How much weight can a Graco crib hold?
The weight capacity of a Graco crib can vary depending on the specific model. It is important to refer to the manufacturer's guidelines and instruction manual for the recommended weight limits and usage instructions to ensure the crib's structural integrity and safety.
How do I convert a Graco crib to a toddler bed?
Converting a Graco crib to a toddler bed typically involves removing the front crib rail and replacing it with a toddler bed rail or a conversion kit provided by Graco. Refer to the crib's instruction manual or contact Graco customer support for specific conversion instructions tailored to your crib model.
About Sara Khan
Sara Khan, an experienced writer who specializes in baby and toddler bedding. With her in-depth knowledge and research, Sara brings valuable insights and practical advice to help parents and caregivers make informed decisions about their child's sleep and comfort.